How to create barcode?
A complete step-by-step guide
🧩 Step 1. Check Available Barcode Credits
Before generating barcodes, make sure your balance is funded and you have available barcode credits.
If you haven’t added balance yet, start here:
👉 How to add balance (cryptocurrency payment guide):
Once credits are available, you can begin creating barcodes.
Go to the Profile section.
In the line “Barcodes available”, you should see how many credits you currently have, for example:
Barcodes available: 10 of 10
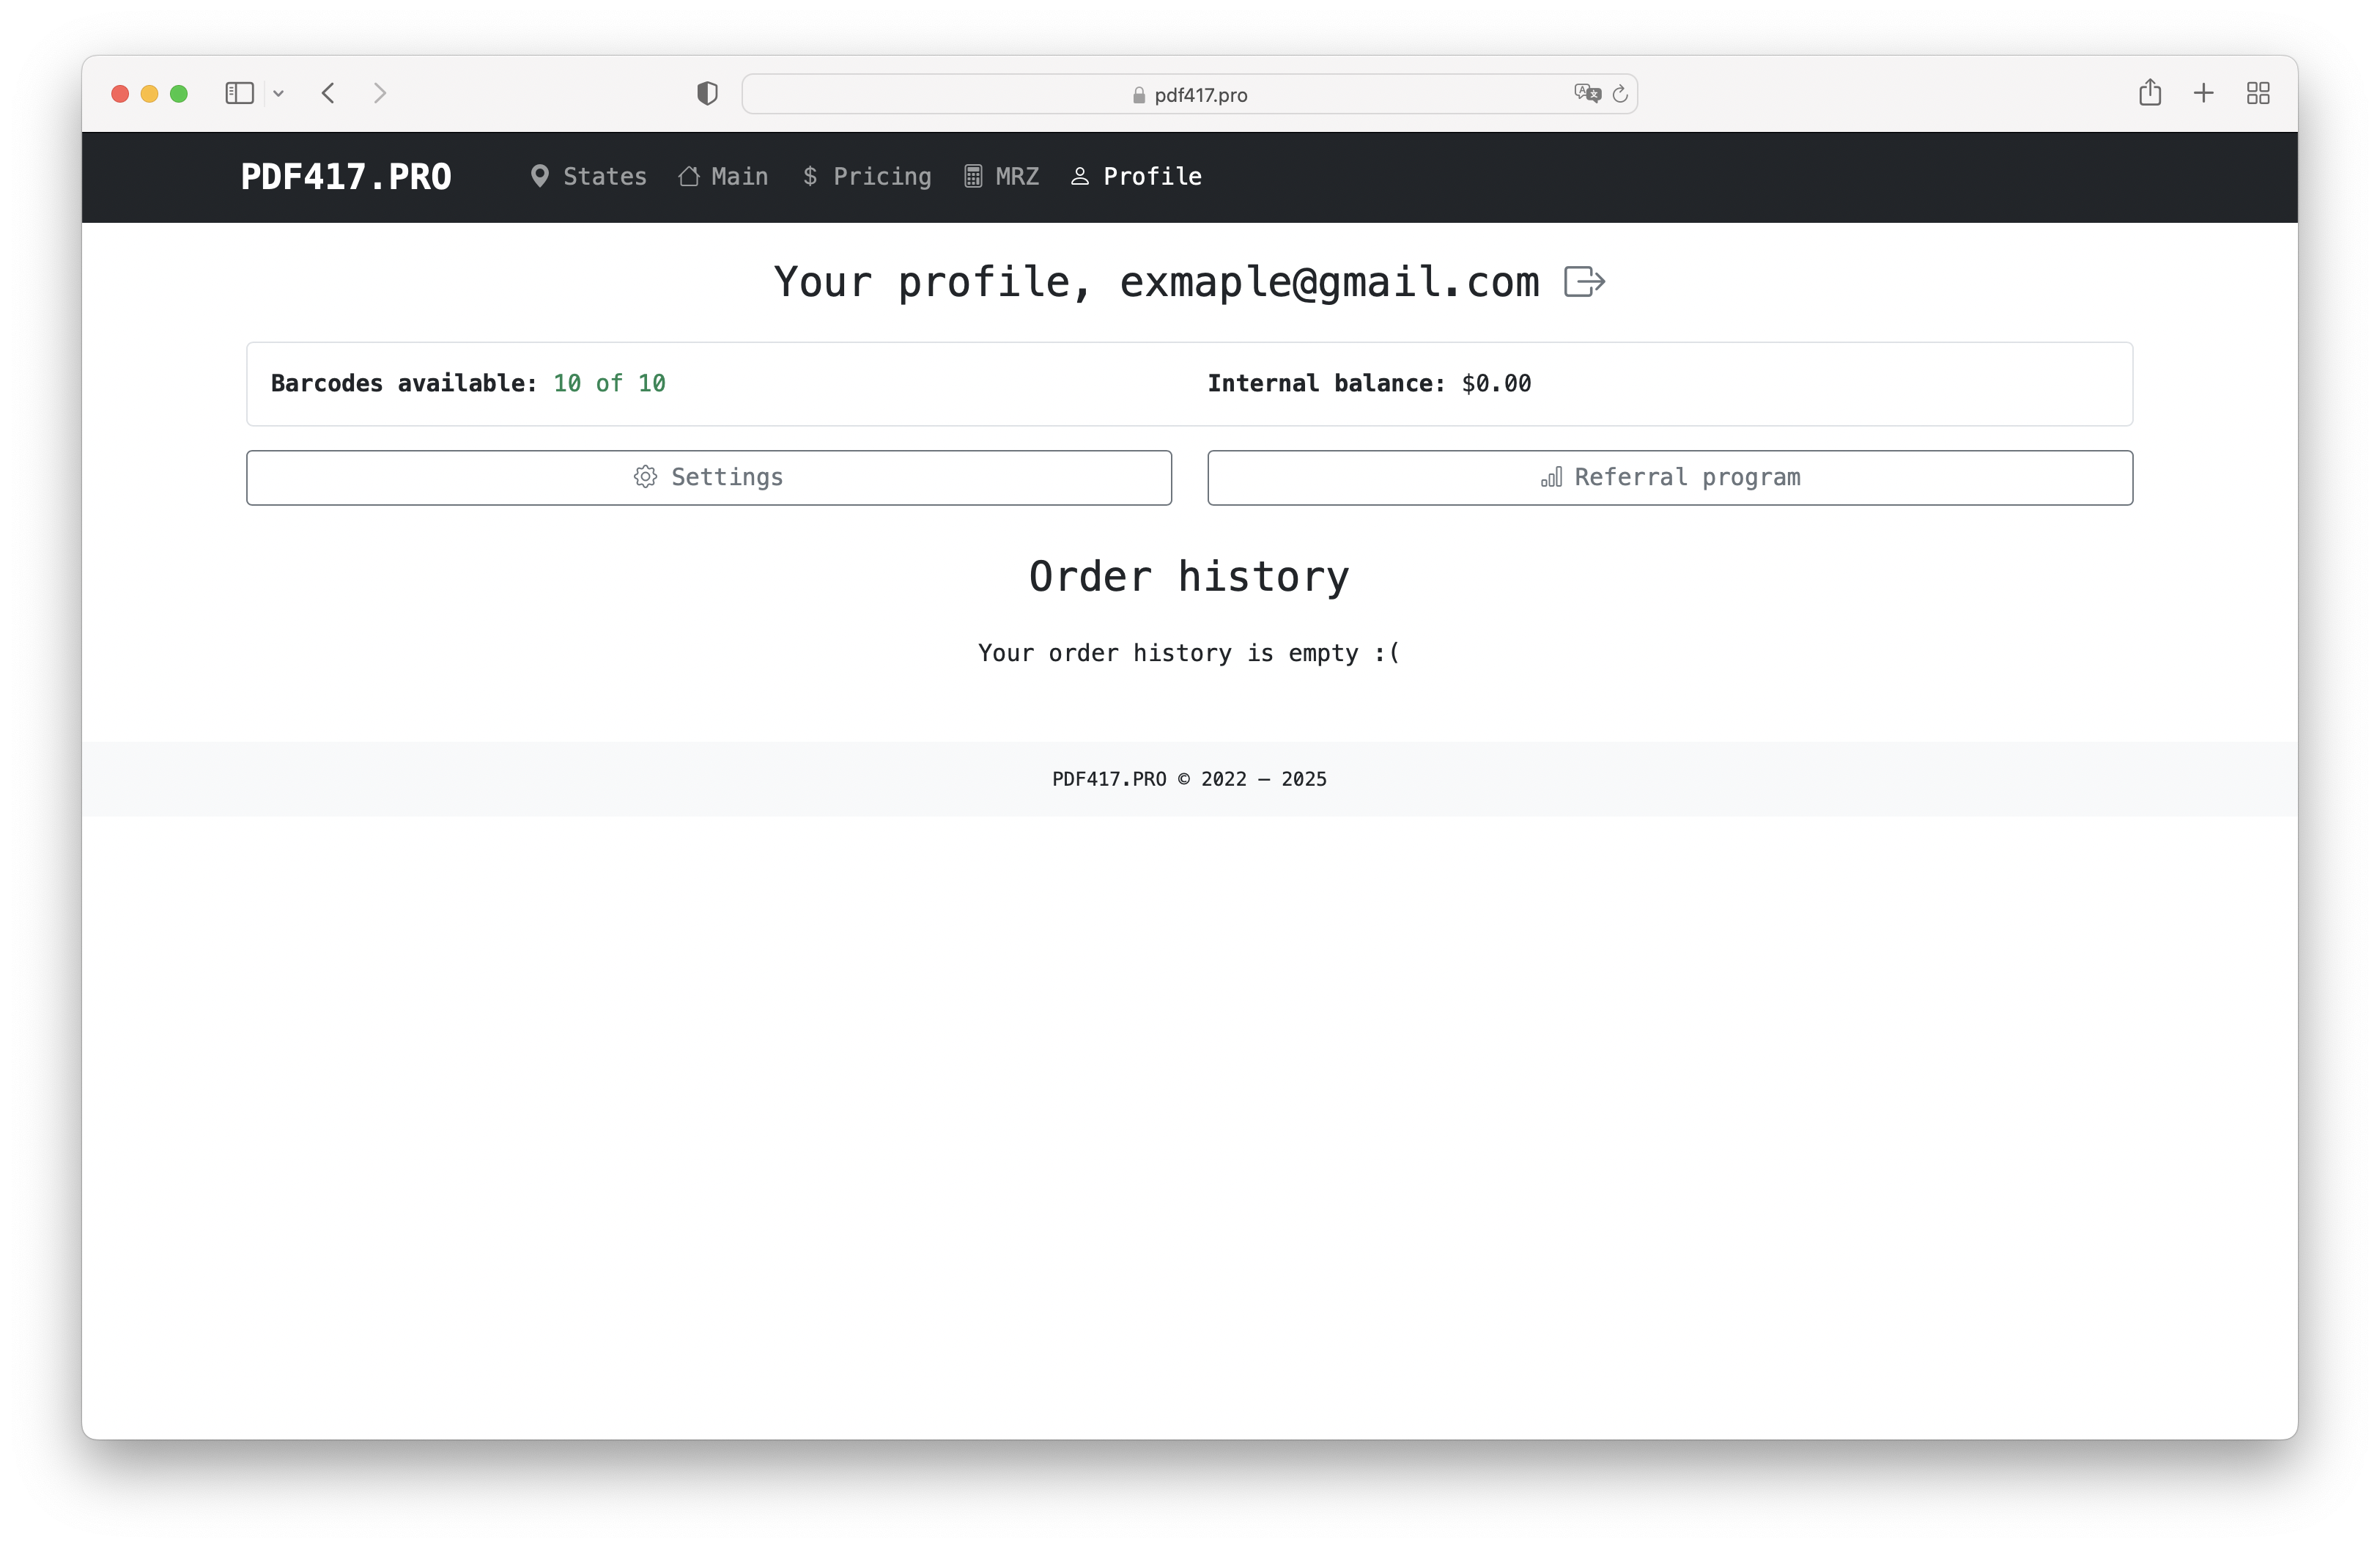
Each time you create a barcode, 1 credit is deducted.
🧩 Step 2. Go to the States List
In the top menu, click States.
You will see a catalog of U.S. states supported by PDF417.PRO:
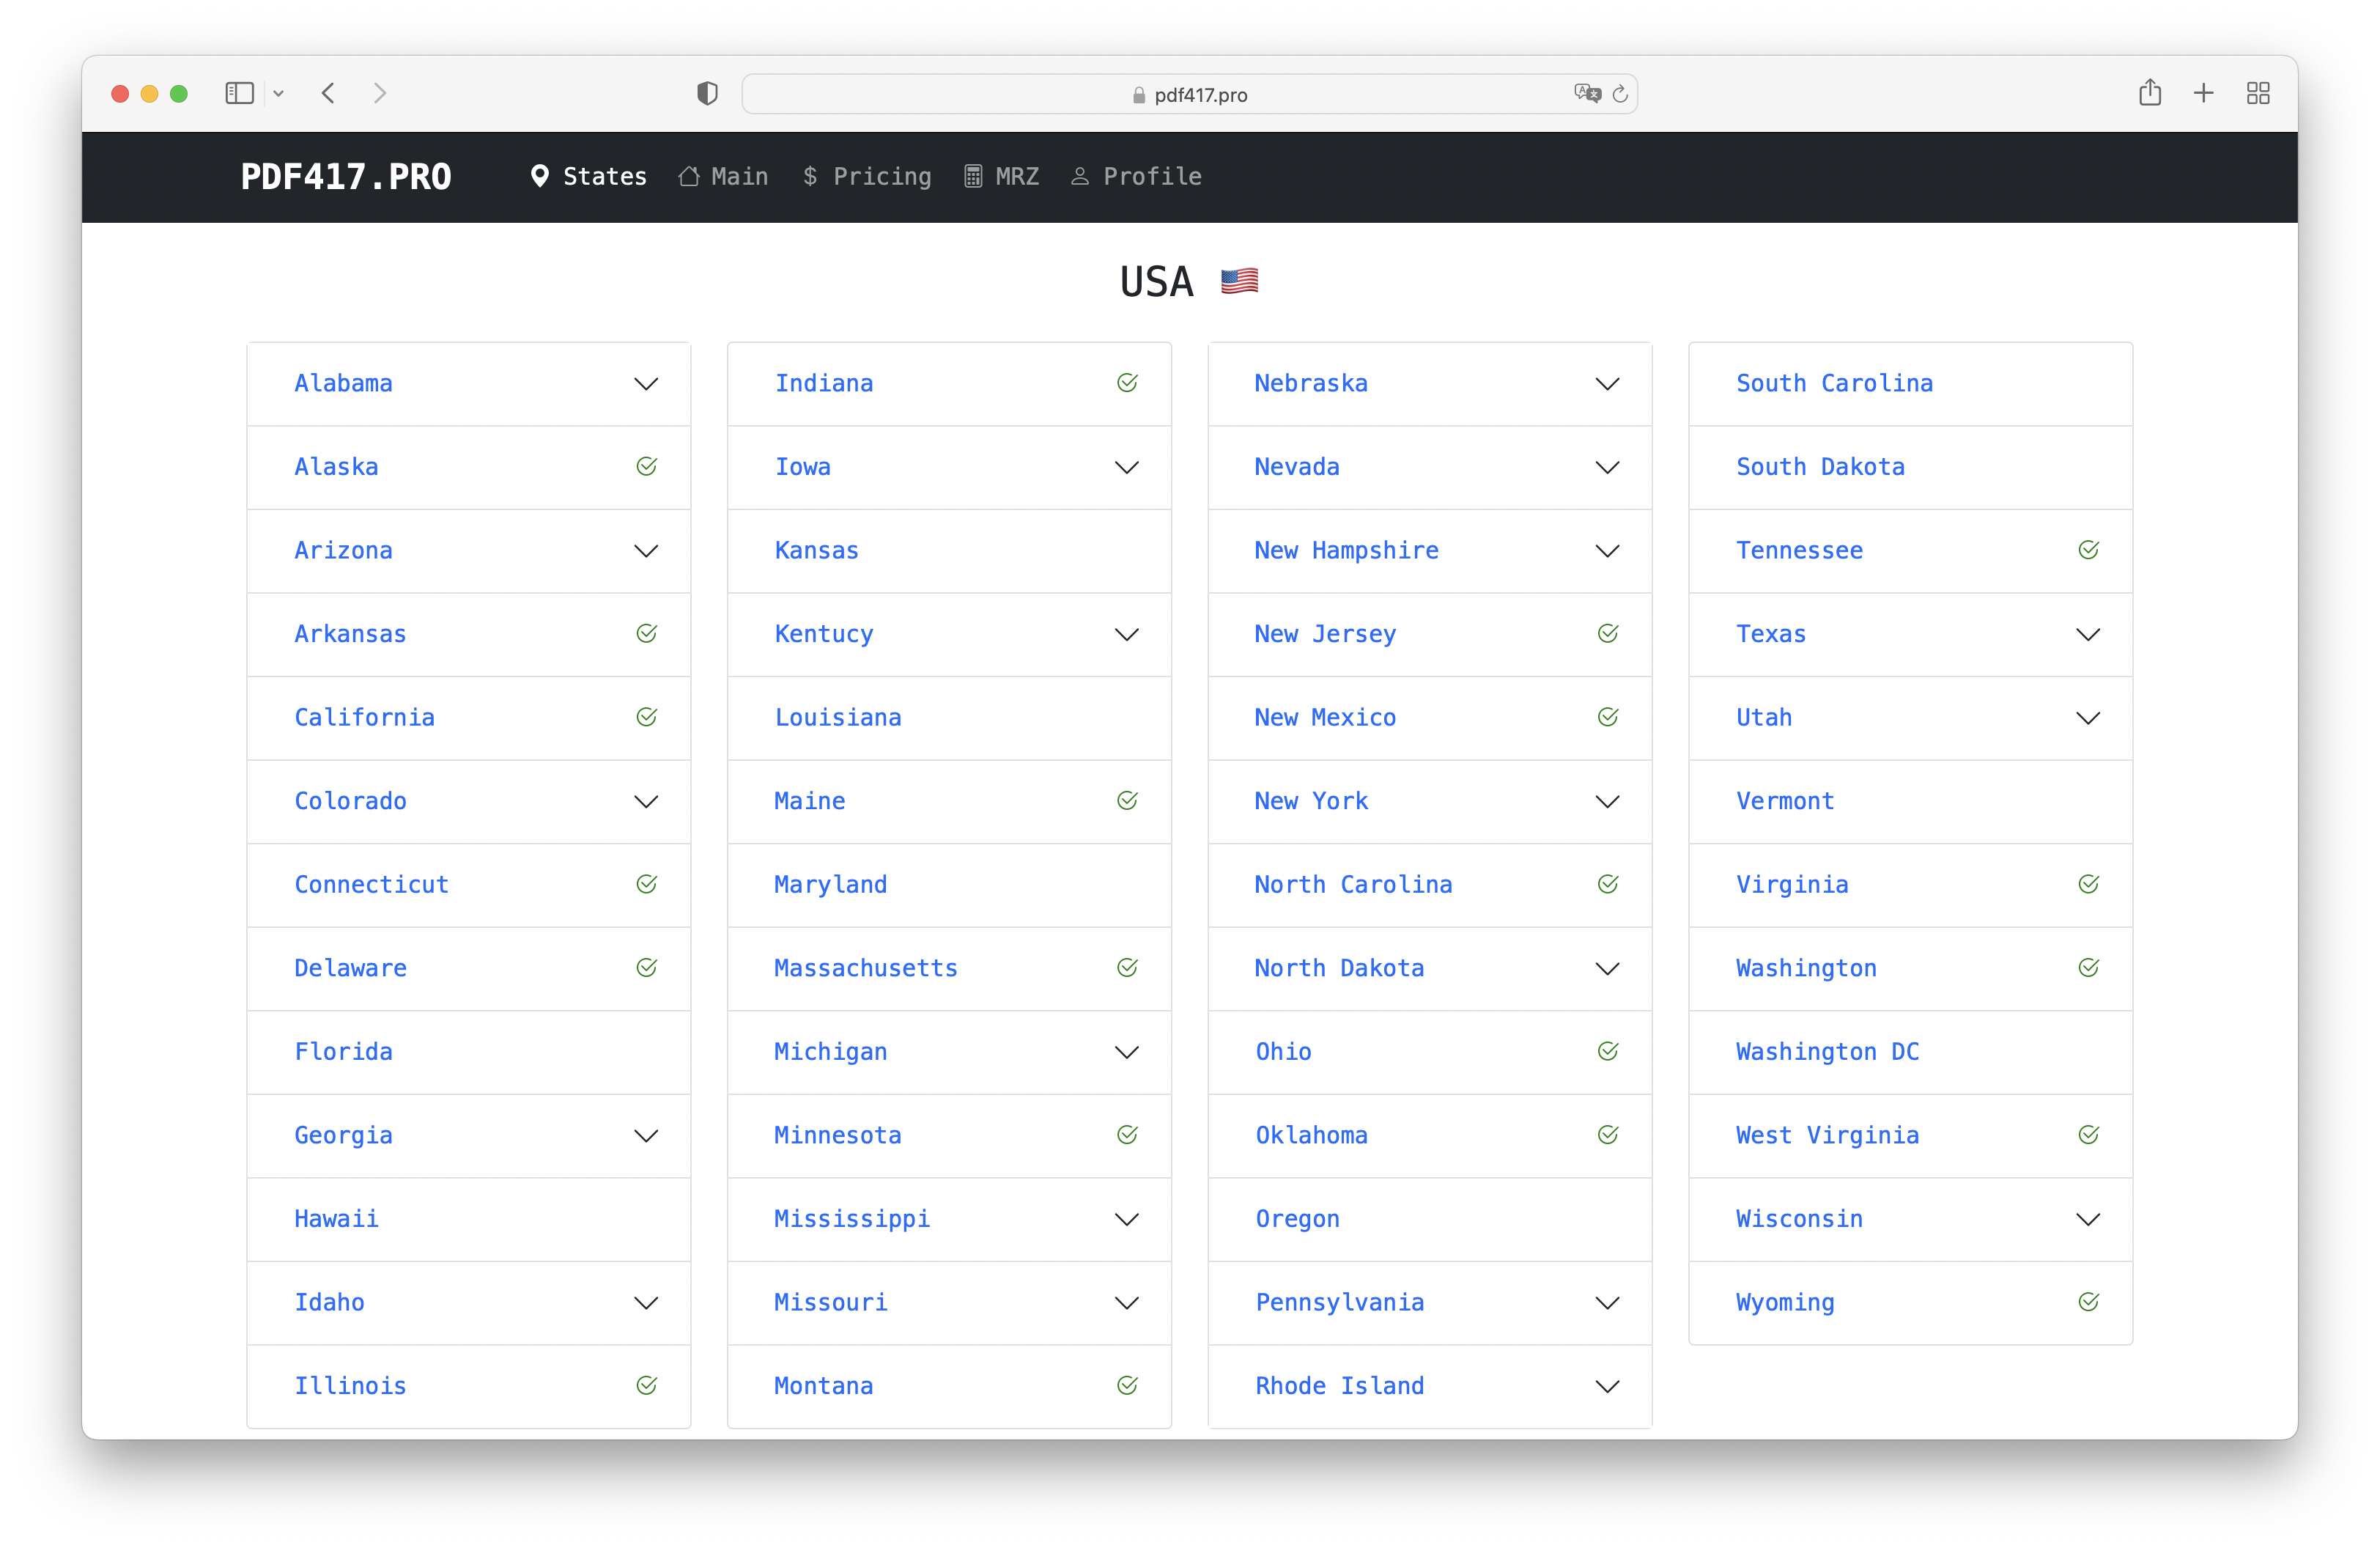
Click the state you want to generate a barcode for (for example, California).
🧩 Step 3. Open the State Form
You will be taken to the detailed generation form for the selected state.
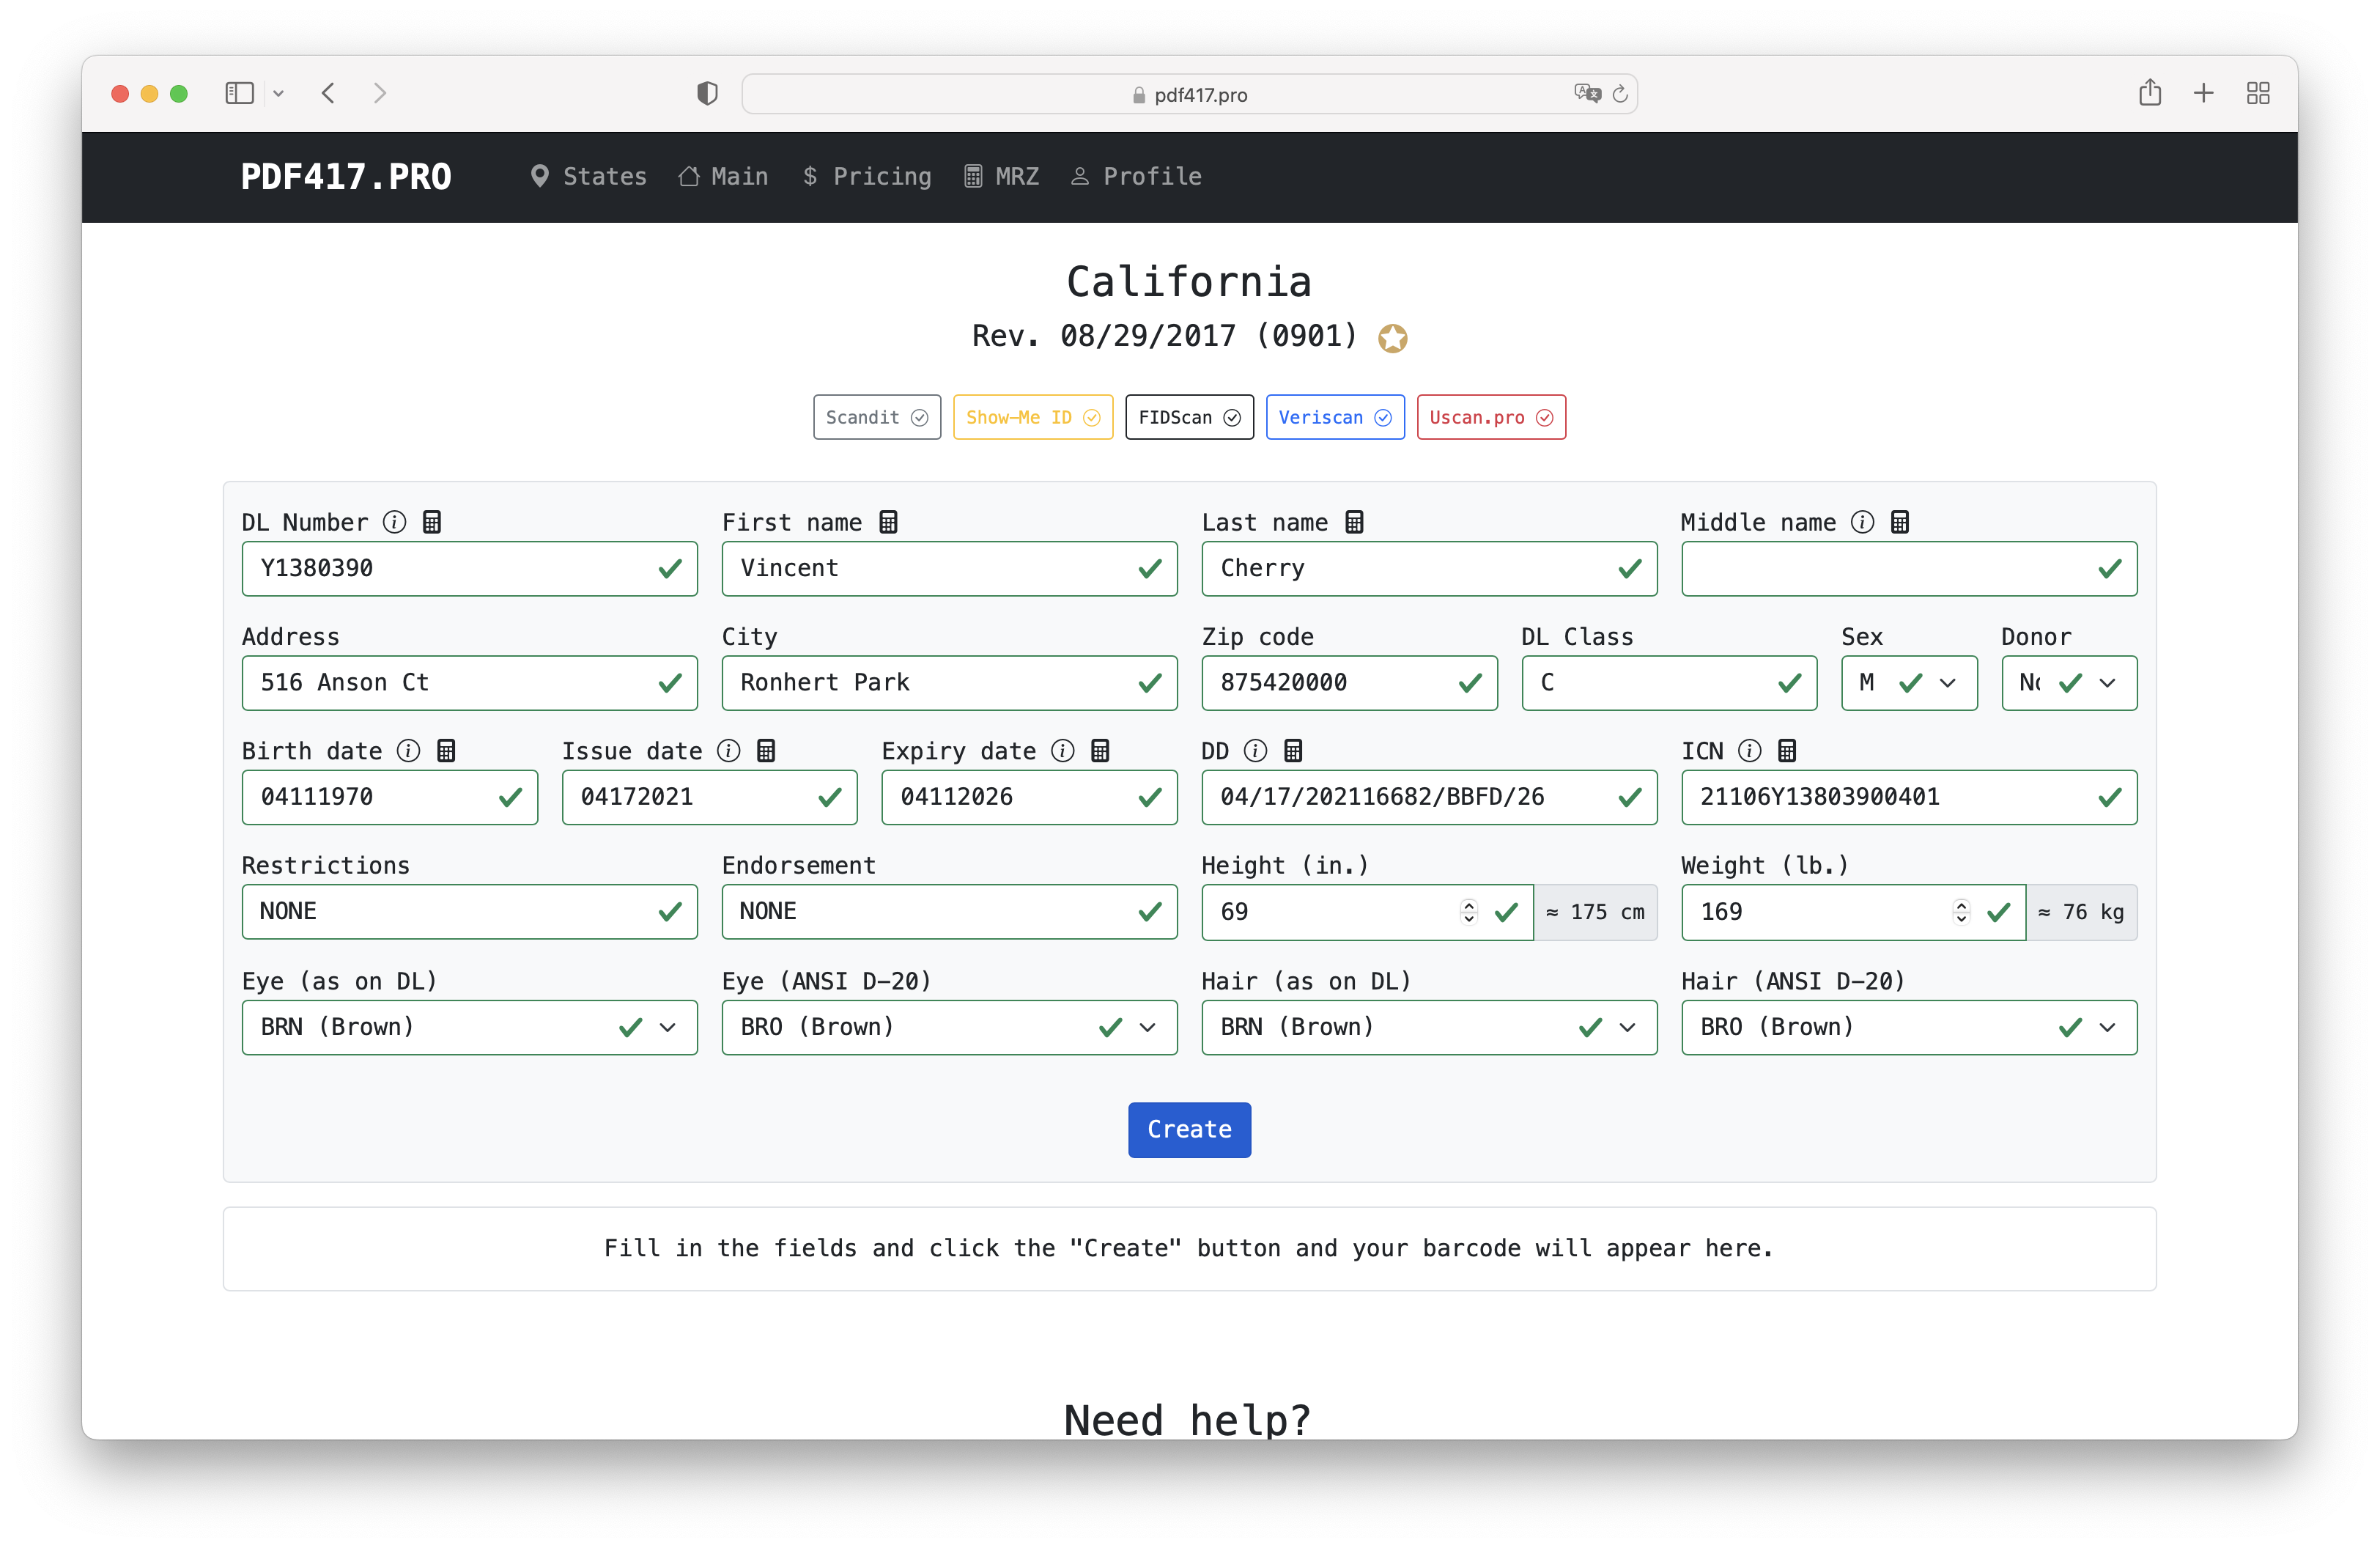
The form includes:
-
Personal details
-
Address information
-
Dates (Birth / Issue / Expiry)
-
DL Number and license class
-
Technical fields (DD, ICN, etc.)
-
Physical attributes (height, weight, eyes, hair)
-
Additional license parameters
ℹ️ Tip: Field information (i icon)
Some fields have an (i) icon.
Hover over it to see:
-
formatting rules
-
field descriptions
-
state-specific requirements
This helps avoid mistakes when entering data.
🧩 Step 4. Use Auto-Fill (Calculator Icon)
Some technical fields—such as DD and ICN—can be generated automatically.
Next to these fields you will find a calculator icon.
Click it to let the system:
-
automatically calculate a valid value,
-
insert it into the field,
-
mark the field as correct with a green check.
This ensures compatibility with scanners and state standards.
🧩 Step 5. Review All Entered Data
Carefully check all the fields:
-
names and dates are typed correctly,
-
DL Number follows the format,
-
address is filled in fully,
-
auto-filled fields look correct,
-
formatting tips (i) were followed.
When everything is correct, click Create.
🧩 Step 6. Confirm the Generation
A confirmation dialog will appear:
Are you sure?
After creating the barcode, you cannot change the data.
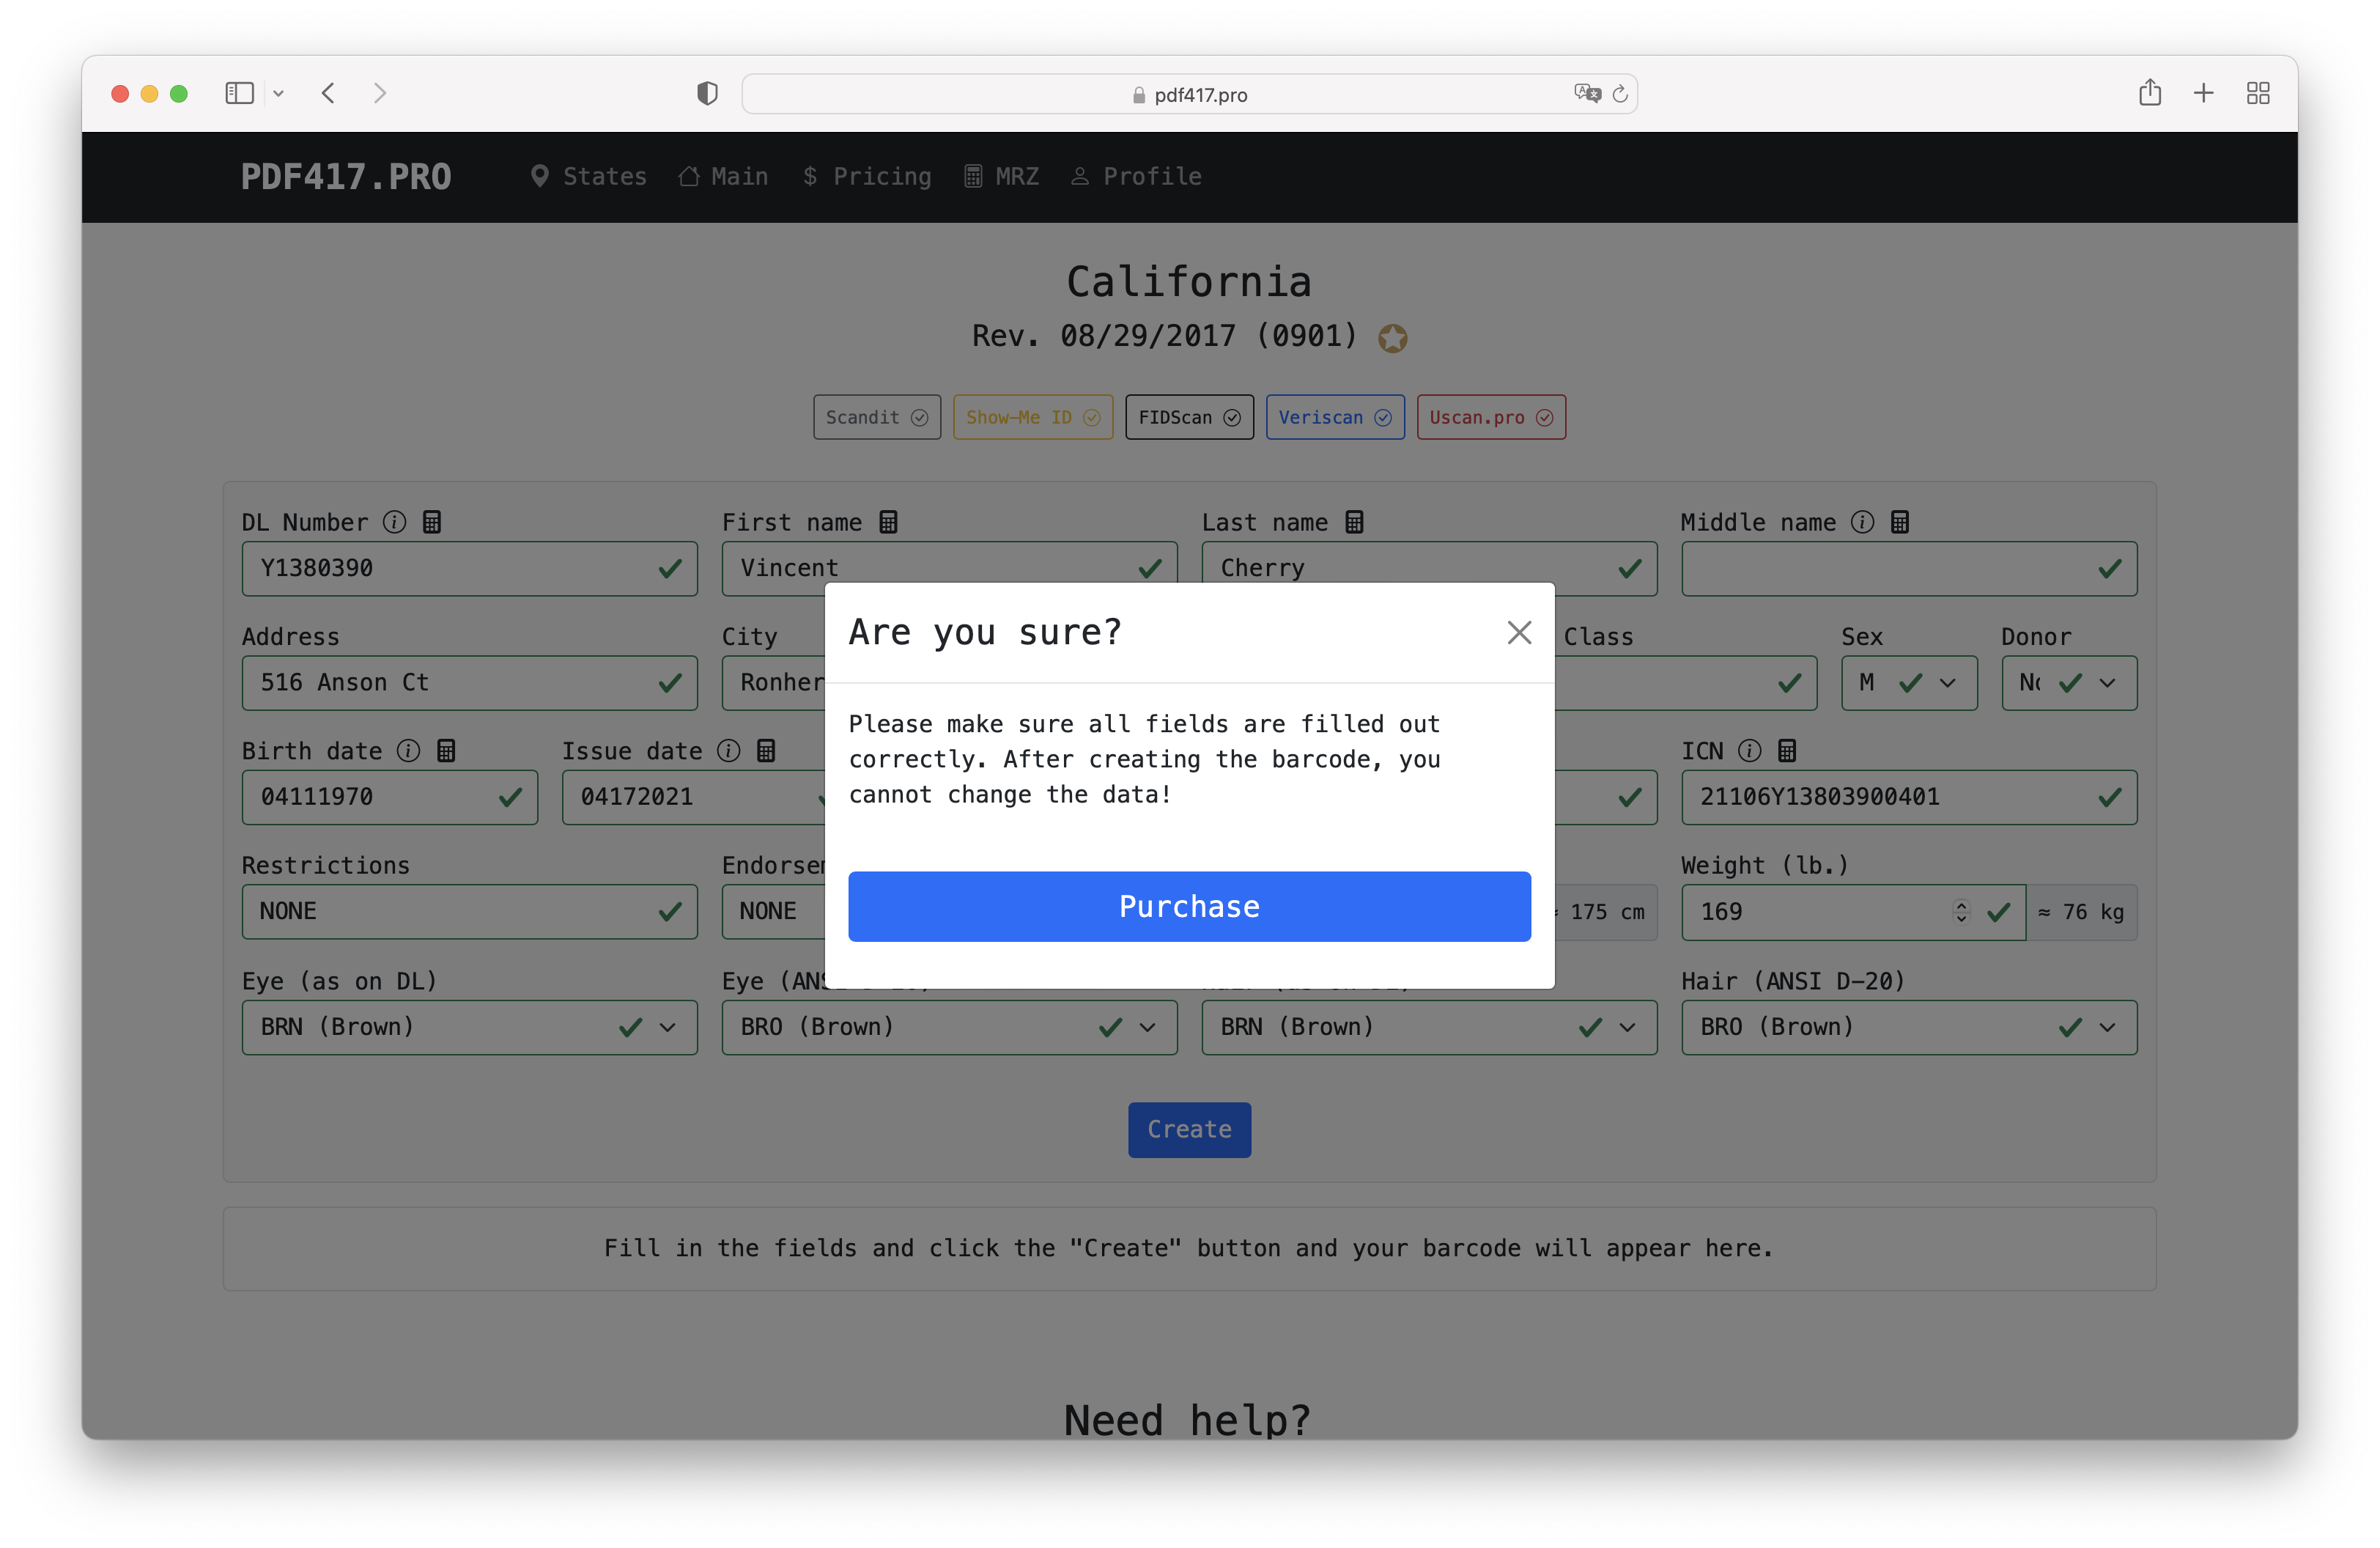
Click Purchase to proceed.
One barcode credit will be used to generate the barcode.
🧩 Step 7. Download Your Barcode
After successful generation:
-
your new PDF417 barcode appears below the form,
-
a message confirms it has been saved,
-
download links appear: SVG and PNG.
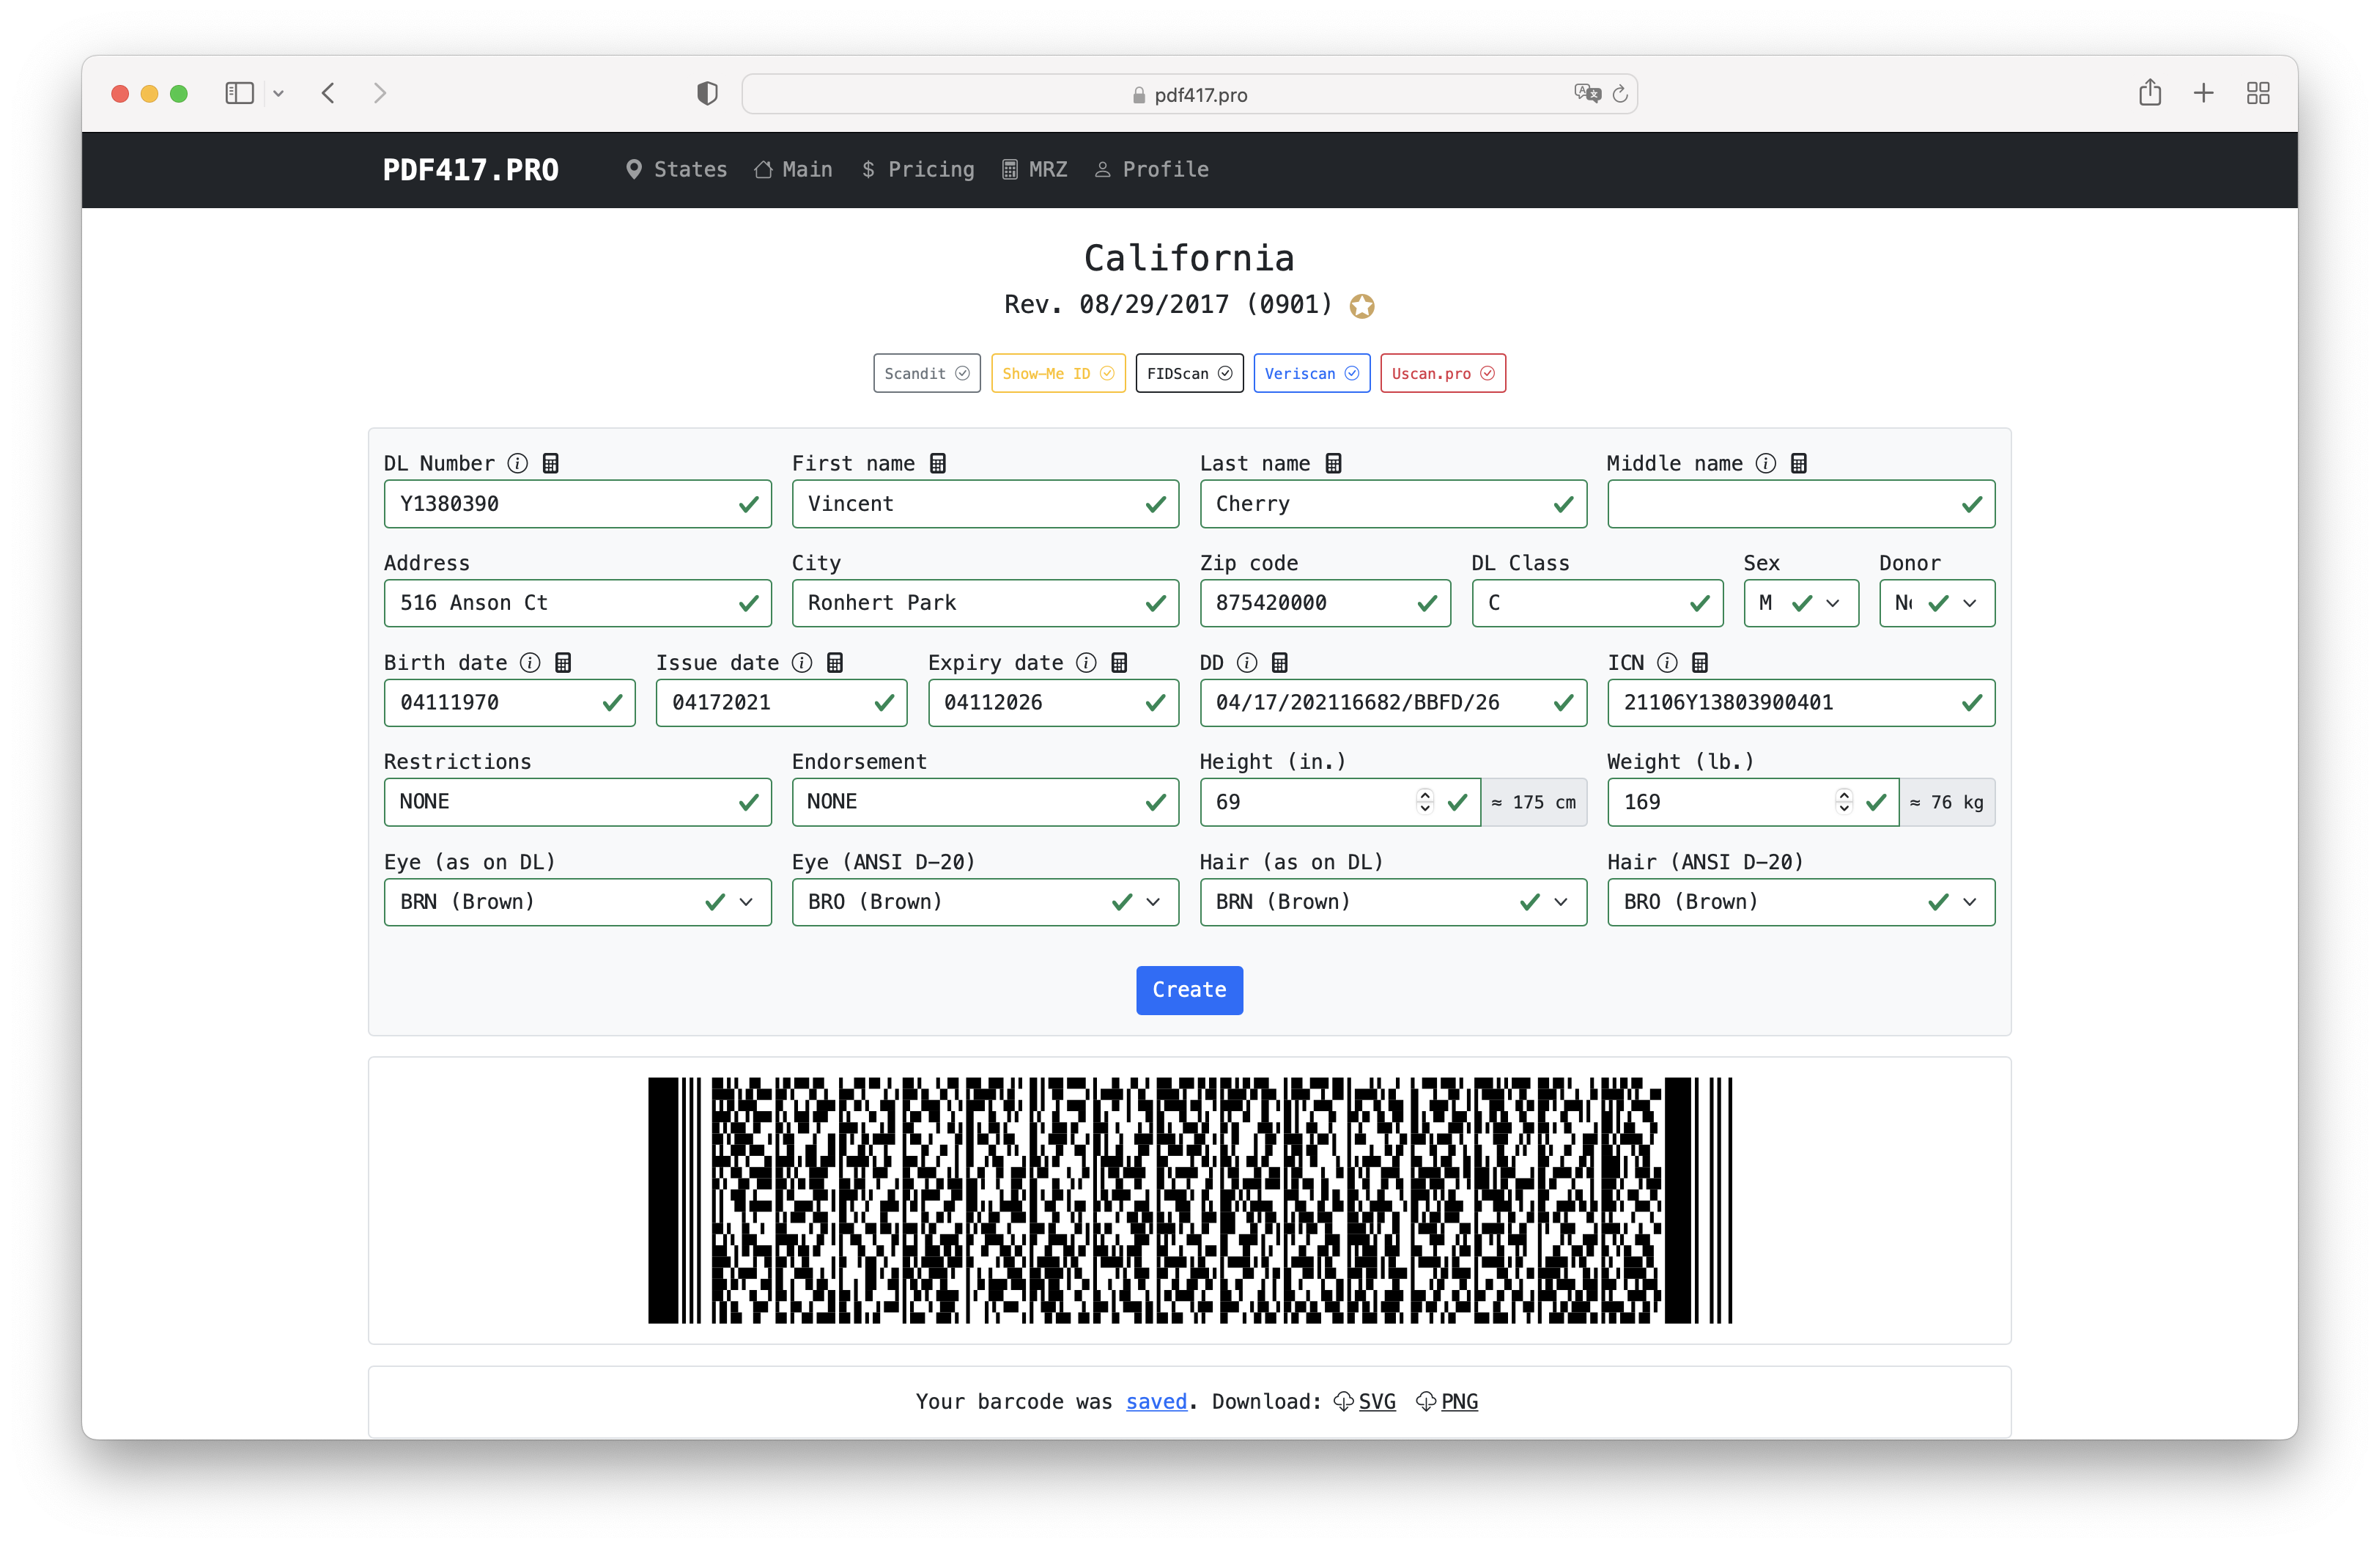
SVG — best for printing or editing
PNG — best for quick preview or sharing
You can download any format you prefer.
🧩 Step 8. View Previous Barcodes in Order History
Return to the Profile section.
In addition to remaining credits, you will see the Order history block.
Here you can:
-
view previously created barcodes,
-
download past barcodes again (SVG or PNG),
-
review your usage history.

This is helpful if you need a barcode created days or weeks ago.
🎉 Enjoy